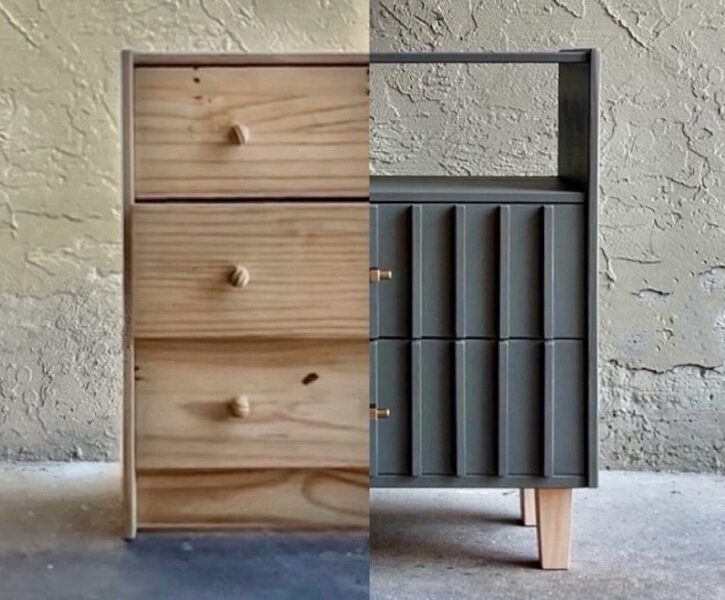

In this IKEA Hack tutorial, I’ll guide you through the process of transforming your plain IKEA Malm dresser into a chic, Boho-inspired rattan dresser that complements various interior styles – from contemporary to minimalist, and even Wabi-Sabi and Japandi.
Design Concept
The IKEA Malm dresser design itself, is a little plain, so I decided to add some details to the drawers and add legs to give it a more modern, less bulky look.
For the drawer design, I was a little torn between doing a fluted design or a Boho, rattan look. After conducting a poll on Instagram, the rattan design emerged as the clear winner!
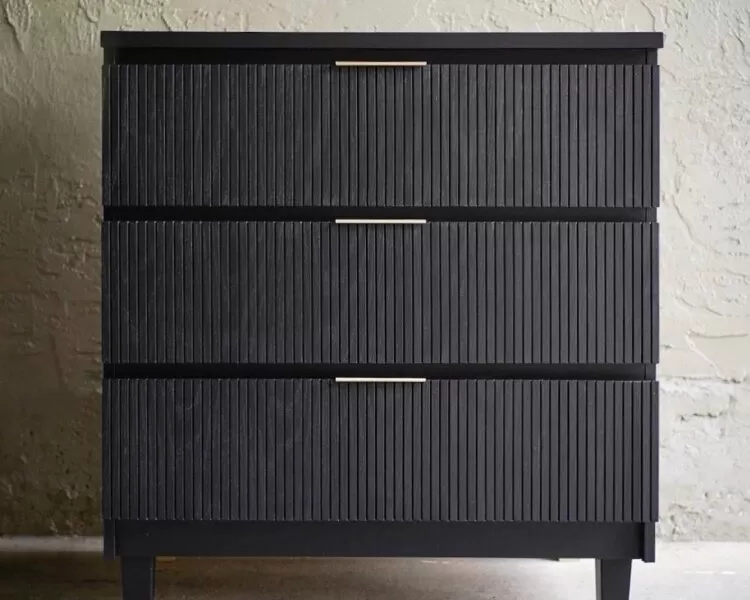
If you’re interested in the fluted look, check out my post on How to add a Fluted Design to the Malm Dresser.
Tools and Supplies Used
Below is a list of tools and supplies used.
Affiliate disclosure: when a purchase is made through the links below, I may earn a small commission from qualifying purchases on Amazon and other retailers.
- Rattan: link.
- Drill & Driver: link.
- Circular Saw: link.
- Sander: link.
- Nail Gun: link.
- Wood Filler: link.
- Wood Glue: link.
- Wooden legs (4.5″): link.
- Drawer handles: link.
- Polyurethane (Water-Based, Matte Finish): link.
- Varathane’s Sunbleached stain: link.
- Wooden legs: link.
- Staple Gun: link.
- Staples: link.
Step-by Step Guide
Add Rattan and Drawer Handles


- Cut the rattan down to match the drawer size.
- Soak the rattan in warm water for 20 mins to soften it up.
- While rattan is soaking, cut the pine wood pieces down to match the drawer side, ensuring 45-degree angled cuts at the ends.
- To give the drawers a more similar color to the rattan, stain it with Varathane’s Sun-bleached stain. Note that this step is optional as the visual impact is small. If you do stain it, make sure to let it dry completely before doing steps 5 & 6.
- Once the rattan has soaked for 20 mins, staple it to the drawers with a staple gun, making sure to pull the rattan tightly so it sits nice and smooth against the drawers.
- Next, use a nail gun and nail the wooden pieces to the drawers, making sure to try line up the wood pieces to the drawer edges.
- Once all the wood pieces are nailed on, fill in the nail holes with wood filler, sand the wood pieces so they lay flush and smooth and add a coat of polyurethane to protect the wood.
- Lastly, attach the handles. Note that as there is a slope to the top edge of the Malm drawer, not all handles fits well, so I recommend using the one I linked.


Attach Legs
- Since the base of the Malm dresser is hollow, a base support needs to be created to the bottom left and bottom right, before legs can be attached. See video on how to create a base structure.
- Once the base support is added, attach the legs. If you’re using the same legs I used, measure and mark where you want the legs. Next, drill a hole 1/2” in diameter and about 1” deep in the base structure, screw in the metal plate, and lastly screw in the wooden leg.
- For the middle legs, no additional supports are needed. You can directly attach the legs to the middle, original wood of the Malm dresser as per step 2.
The Results
And here is the completed dresser! This looks perfect in our room!
If you have any questions, leave a comment below or DM me on Instagram / YouTube and I will help answer as best as I can!


Leave a Reply
You must be logged in to post a comment.