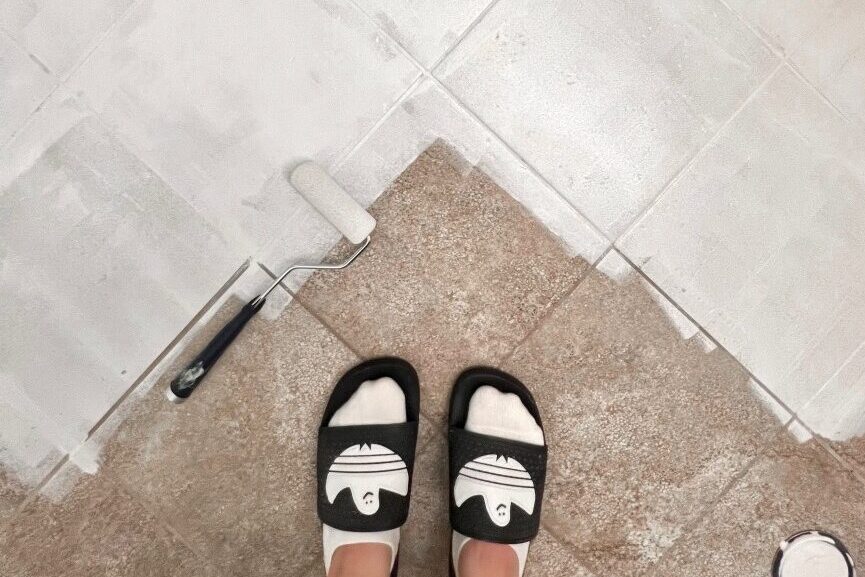
Do you know you can paint old tiles, and change it’s appearance for a fraction of the cost of replacing them? In this tutorial, I will show you how and what tile paint and supplies you need. The process is pretty simple, and is very similar to painting your nails. You first prep the surface, then you paint the colored layers and designs and lastly you do a top clear coat to protect the paint.
Tools and Supplies Used
Below is a list of tools and supplies needed.
Affiliate disclosure: when a purchase is made through the links below, I may earn a small commission from qualifying purchases on Amazon and other retailers.
- Painter’s Tape: link.
- Sandpaper (80 grit): link.
- Floor Cleaner: link.
- Primer paint:
- Tile paint:
- Geometric stencil: link.
- Dense foam roller: link.
- Synthetic edge brush: link.
Step-by Step Guide
Tile Prep
- Before painting, some tile prep is needed. First, give the surface a quick sand using 80 grit sand paper and clean away any dust.
- Next, give the floors a good scrub with a strong floor cleaner.
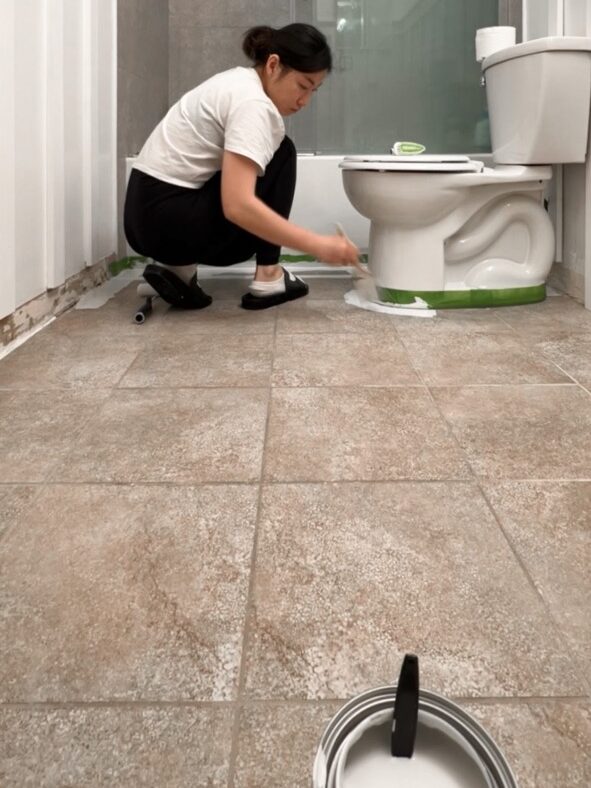
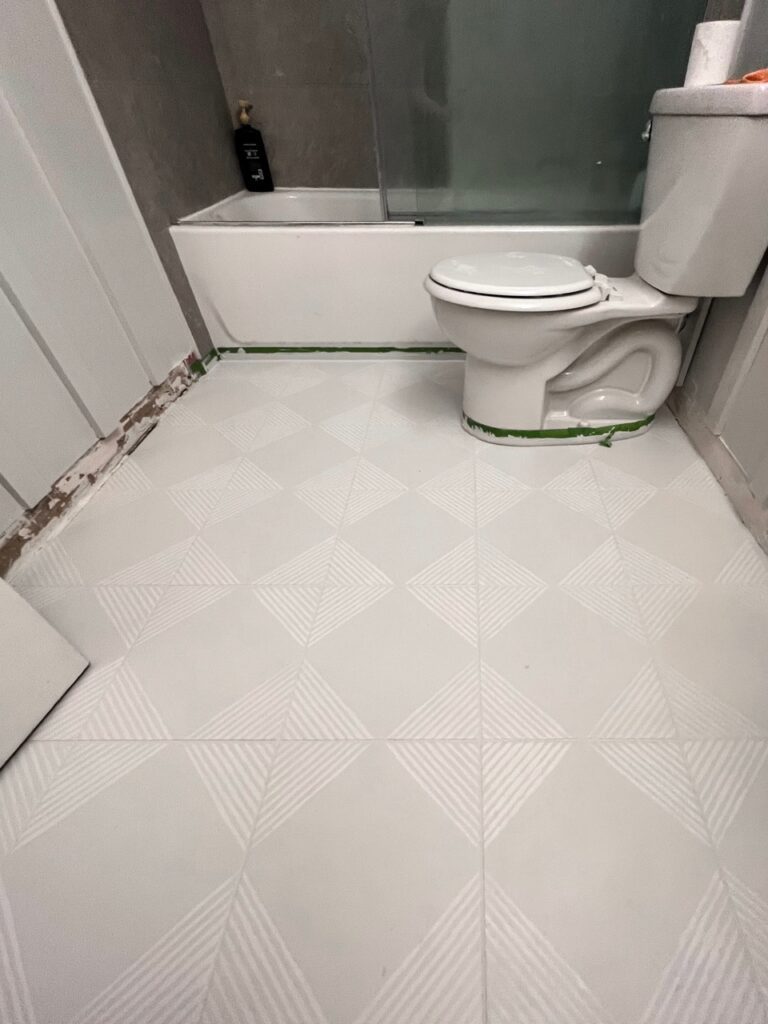
- Then use painter’s tape along the wall and around the toilet and tub to protect the areas you don’t want to mistakenly paint.
Painting the Tiles
- Depending on the tile paint choice, a primer may be needed. Primer helps to smooth out the surface and helps the paint adhere better to the tile surface. Start by painting the edges and grout lines with a synthetic brush, then paint the rest with a dense 3/8-inch nap paint roller.
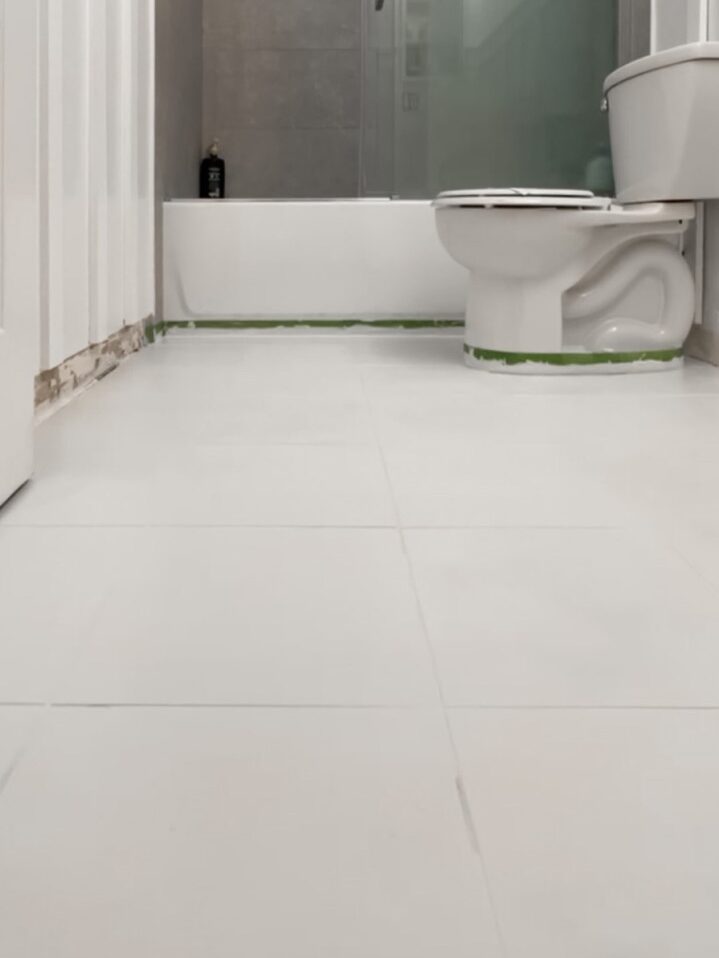
- When painting tiles, special epoxy or tile paint is needed. These paints are made to stick to tile and is more durable and washable. I used the paint from Rust-Oleum. They require 2 paints: the Base layer, which is the colored paint, and a top layer, which is a transparent clear coat. If you are doing a stencil design then you may need 2 or more, colored base layer paints. Once the primer has dried, apply 2 layers of Rust-Oleum’s Steam Grey base coat, allowing it to dry for 6 hours in between.
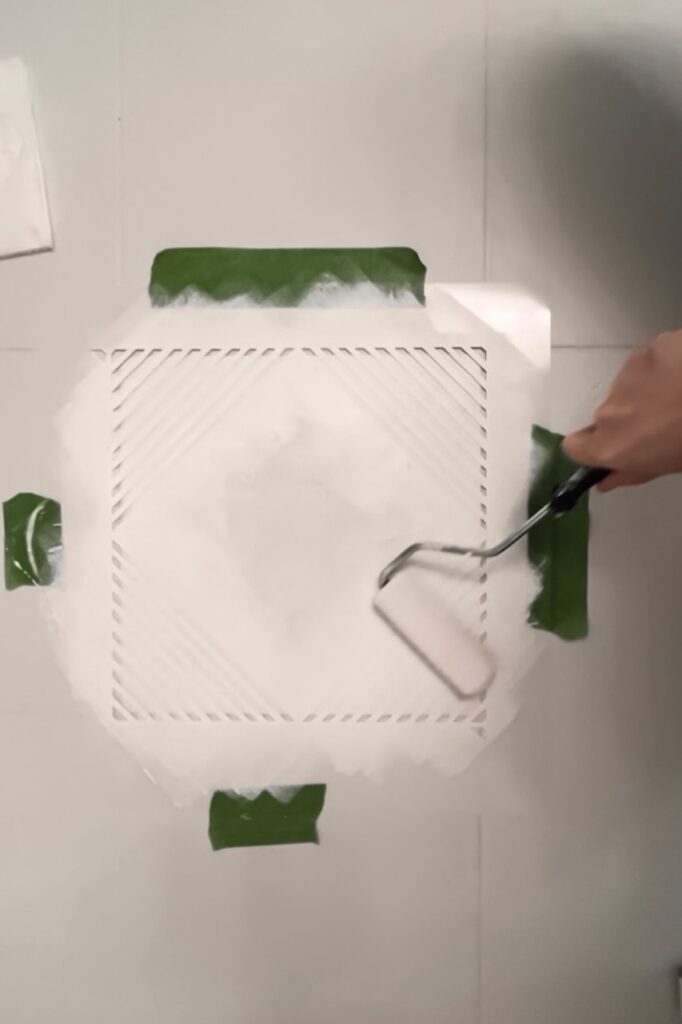
- Next, use a stencil and 3/8-inch nap paint roller to paint on the lined pattern using Rust- Oleum’s Ultra-White base tile paint. In terms of stencil, there are assorted designs online to choose from. Make sure the stencil size is similar to your tile size.
Note: to prevent the paint from bleeding under the stencil, roll the foam roller on a kitchen towel first. This helps to absorb any excess paint. The drier the roller, the cleaner the lines! The first few tiles will be messy, so start somewhere less visible, such as under the vanity. - Paint the tiles with awkward shapes last (eg: next to the wall or toilet) as you’ll need to cut up the stencil in order to complete these areas.
- Once all the tiles have been stenciled, take took a smaller paint brush and clean up any uneven, bleeding areas.
- Lastly, once all the paint is dry, add 2 layers of the clear, tile paint top coat, and that’s pretty much it!
Final Notes
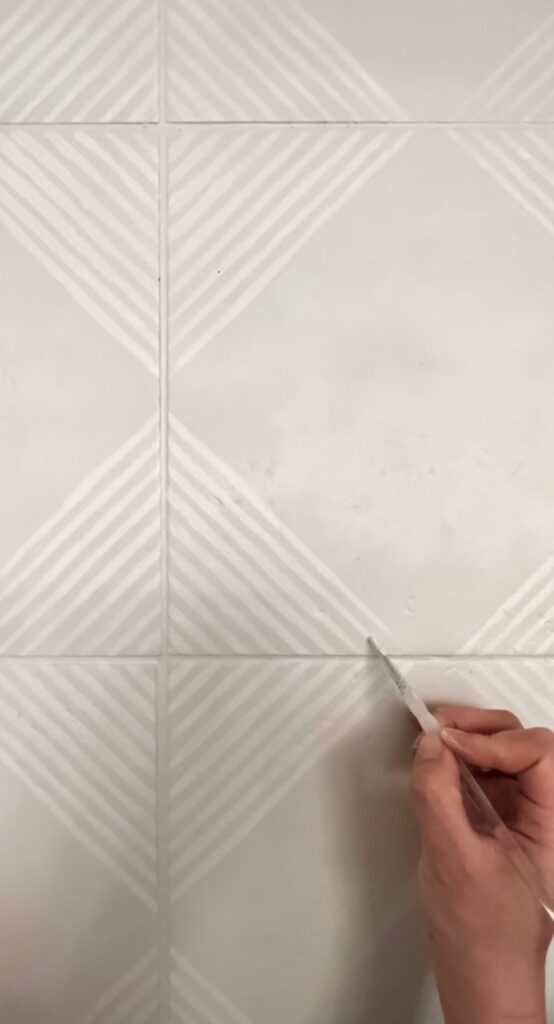
- When you remove the painters tape, take care! In the beginning, I peeled it off directly and it pulled off some of the paint on my tiles, which later required me to repaint and fix. So to make sure you don’t do the same, take a penknife and score the border of the tape before you peel the tape off. This help dramatically.
- Remember to let the paint dry fully. Light foot traffic is allowed after 24 hours, wait 72 hrs before adding any furniture, and don’t wash it for 7 days until it’s fully cured.
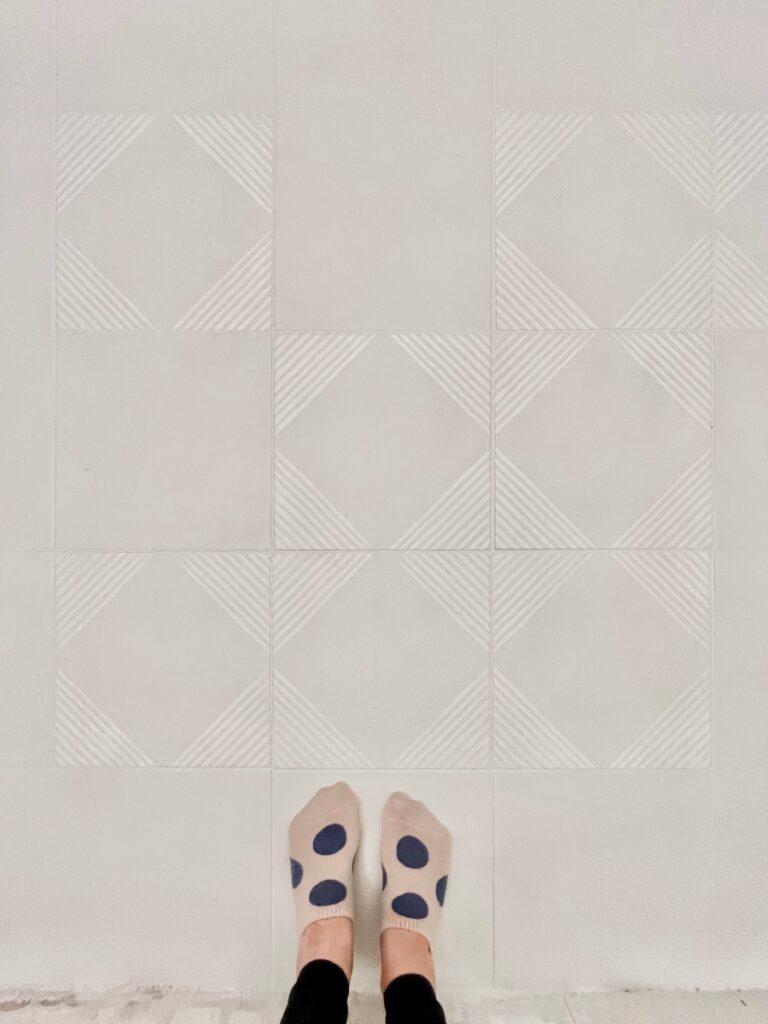
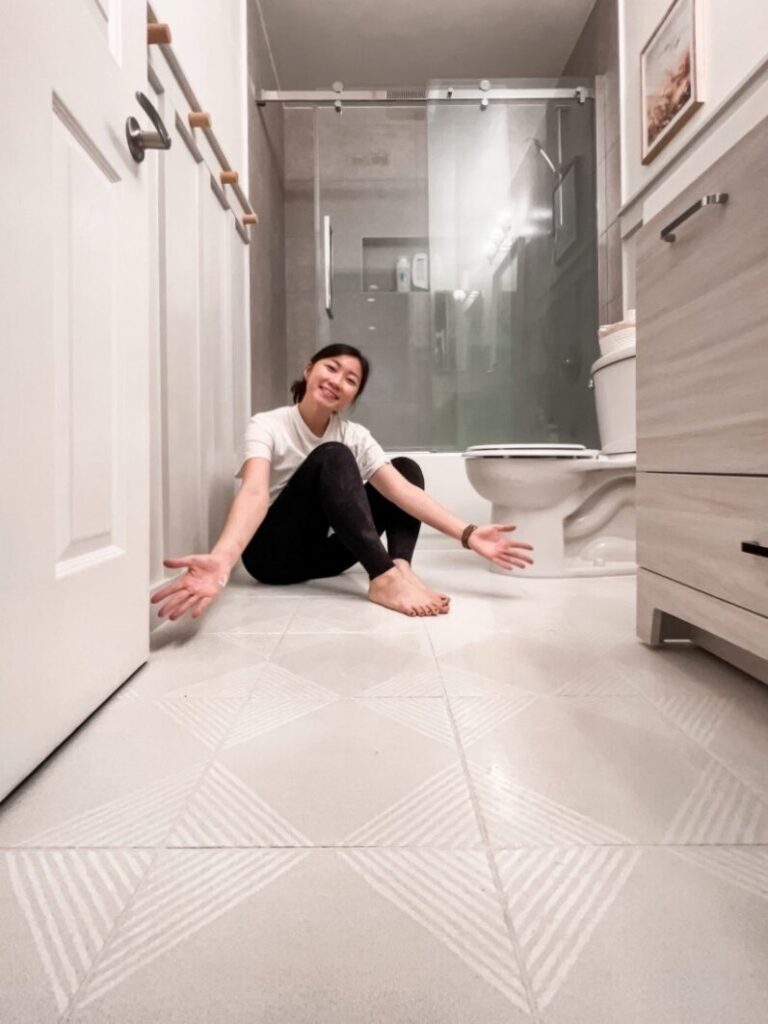
The Results
I spent a 2 days and around US$80 and gave the floors a new makeover. Very happy with the results! If you have old tiles, maybe you can give it a try too!
If you have any questions, leave a comment below or DM me on Instagram / YouTube and I will help answer as best as I can!
Video Tutorial
If you have any questions, leave a comment below or DM me on Instagram / YouTube and I will help answer as best as I can!


Leave a Reply
You must be logged in to post a comment.