• Skip to primary navigation
  • Skip to main content
  • Skip to primary sidebar
  • Skip to footer
JnnLiuLiu Text Logo

JnnLiuLiu

Inspiring Home, Decor, DIY Tutorials

  • Home
  • DIY Tutorials
    • IKEA Hack
      • IKEA Hack – How to add Rattan to Malm Dresser
      • IKEA Hack – How to add Fluting to Malm Dresser
      • IKEA Hack – Complete Rast Dresser Makeover
    • How to Build a Fluted Coffee Table
    • How to Paint Tiles and What Tile Paint to Use
    • How to Build a Built-in Bookshelf
  • About

How to Lime-Wash a Bedroom

Mar. 12, 2024

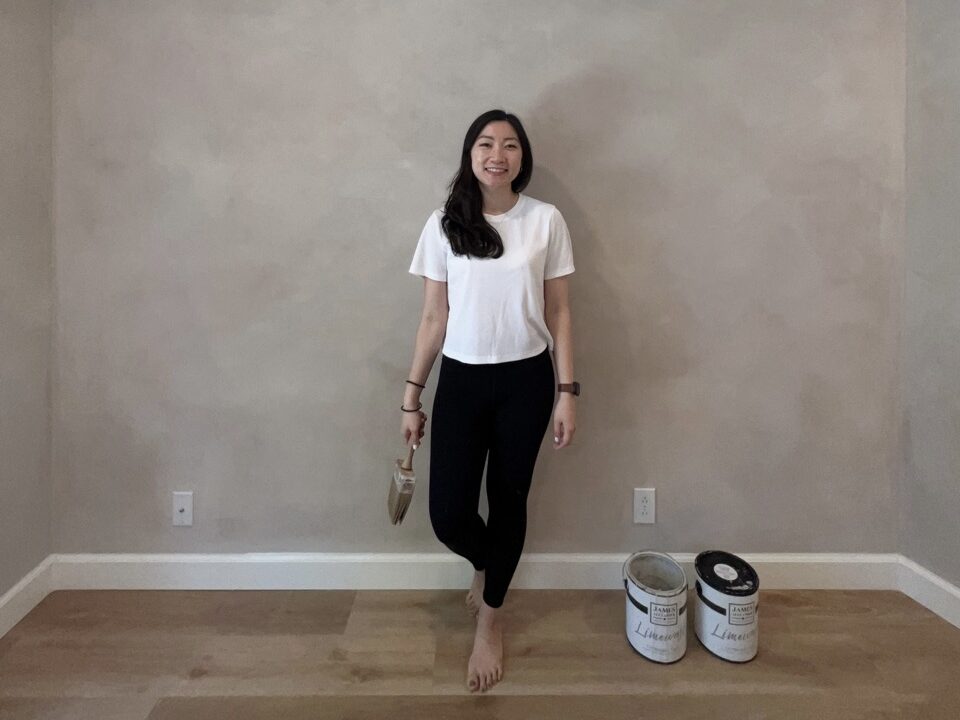
I’m very excited to share with you my recent project of lime-washing my bedroom! This was my first time attempting lime-wash, and it was definitely a fun and interesting experience!

Bedroom Limewash

What is Lime-Wash Paint? 

Lime-wash paint is crushed limestone, mixed with water, and is a technique used to create a beautiful, aged look on your walls. It is a great way to add character, depth and texture to any room and complements various styles of home, from Wabi-Sabi, to Bohemian, to Mediterranean, and lots more.

Tools and Supplies Used

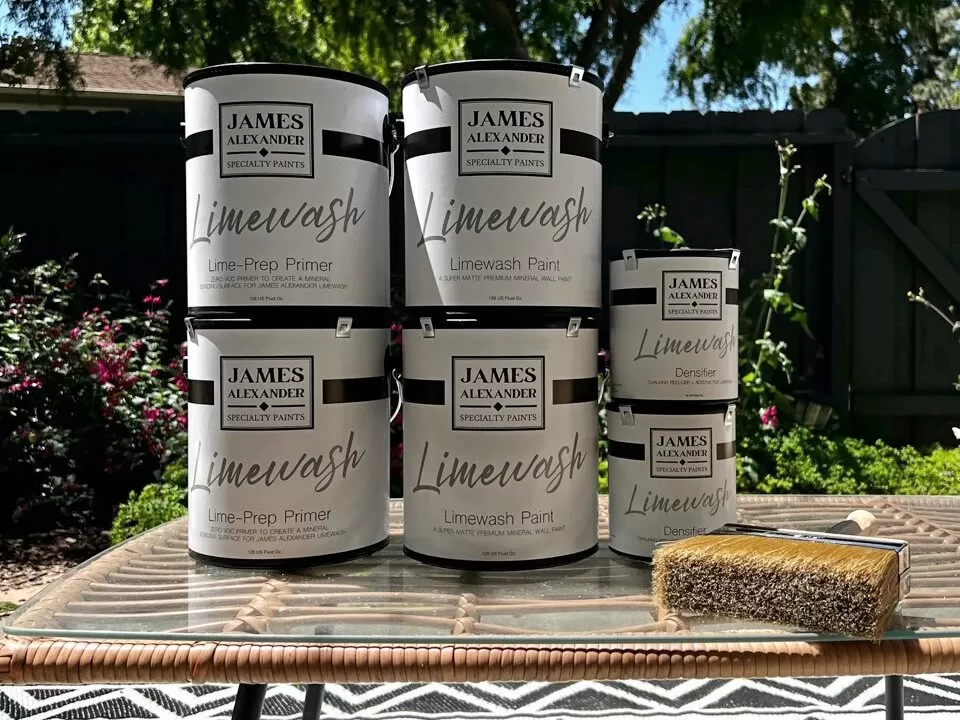
In terms of lime-wash supplies, I got mine from James Alexander. This included a primer, lime-wash paint, densifier and a block brush.  

  • Lime-wash primer: link.
  • Lime-wash paint: link (Paint Color: Argilla Francese).
  • Densifier: link.
  • Block Brush: link.
  • Painter’s Tape: link.

Affiliate disclosure: when a purchase is made through the links above, I may earn a small commission from qualifying purchases on Amazon and other retailers.

James Alexander Lime-wash Paint

Step-by Step Lime-Wash Guide

  1. Before starting, use painters’ tape to tape off the areas you don’t want to get any paint on. 
  2. After that, start with the primer. Painting the primer is an important step not to be skipped, because it helps to create a smooth and even surface for the lime-wash paint to adhere to which helps increase the durability and longevity of the lime-wash paint.
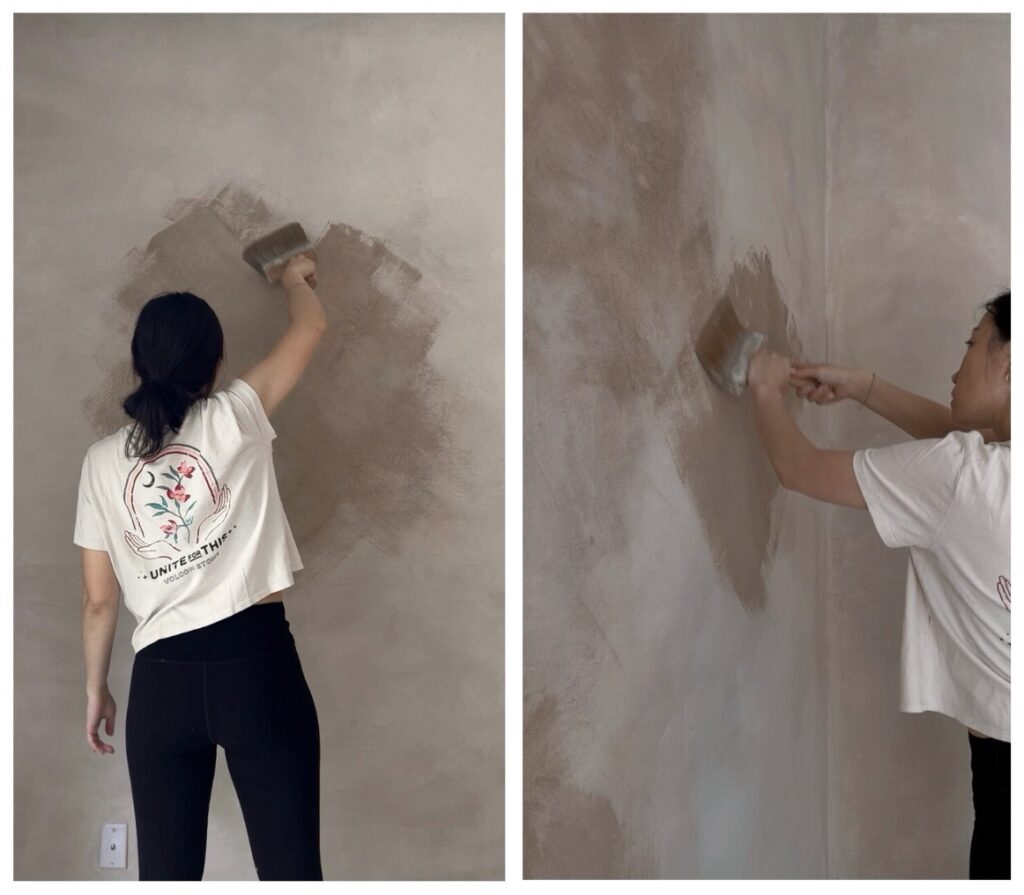
    If you apply lime-wash directly on unprimed walls, it may result in uneven paint absorption, leading to blotchy or patchy areas. If you apply a primer not made for lime-wash paint, it may cause paint adhesion and durability problems. The primer from James Alexander is specially formulated for lime-wash paint. Apply it evenly and let it dry completely before moving on to the next step.
  3. Now, for the lime-wash paint. To achieve the beautiful lime-wash look, use a block brush and a cross hatch technique. The block brush helps to give a beautiful texture and finish because the wide bristle design allows for smooth strokes and even paint distribution. The cross-hatch technique helps to distribute the paint more evenly and reduces the appearance of streaks or blotches. Apply the lime-wash paint in vertical strokes and then going over the painted area to blend it out more.
    I also found that using a drier brush helped me to achieve a more blended look, versus getting a more blotchy look when the paint was more watery.
    When working with lime-wash, it’s important to remember that the paint will become lighter when it dries. So don’t worry when you see that the color initially looks darker than you expected. 
    Lime-wash is all about layering, so apply the lime-wash paint in thin, even layers, building up the color gradually. This allows for better control over the paint application and reduces blotchiness
    After each coat, make sure to allow it to dry completely before applying the next coat. In total, I did about 2 coats, before doing a final coat with added densifier.
    Note: applying the lime-wash is going to be a total upper body workout, so be prepared and know that you can definitely skip the gym for the next couple of days!
  4. For the final coat of lime-wash, add in a little densifier to the paint, making sure to mix evenly before painting the walls. The densifier is basically a solution that helps seal the lime-wash and adds additional layer of protection and makes the walls easier to clean.
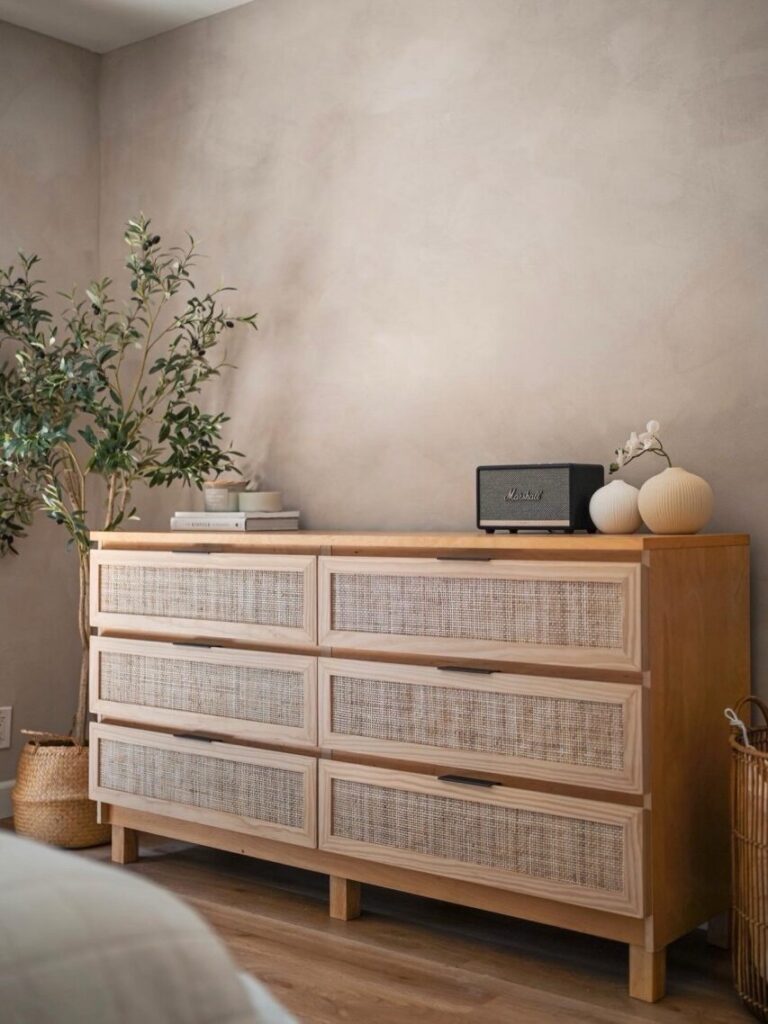
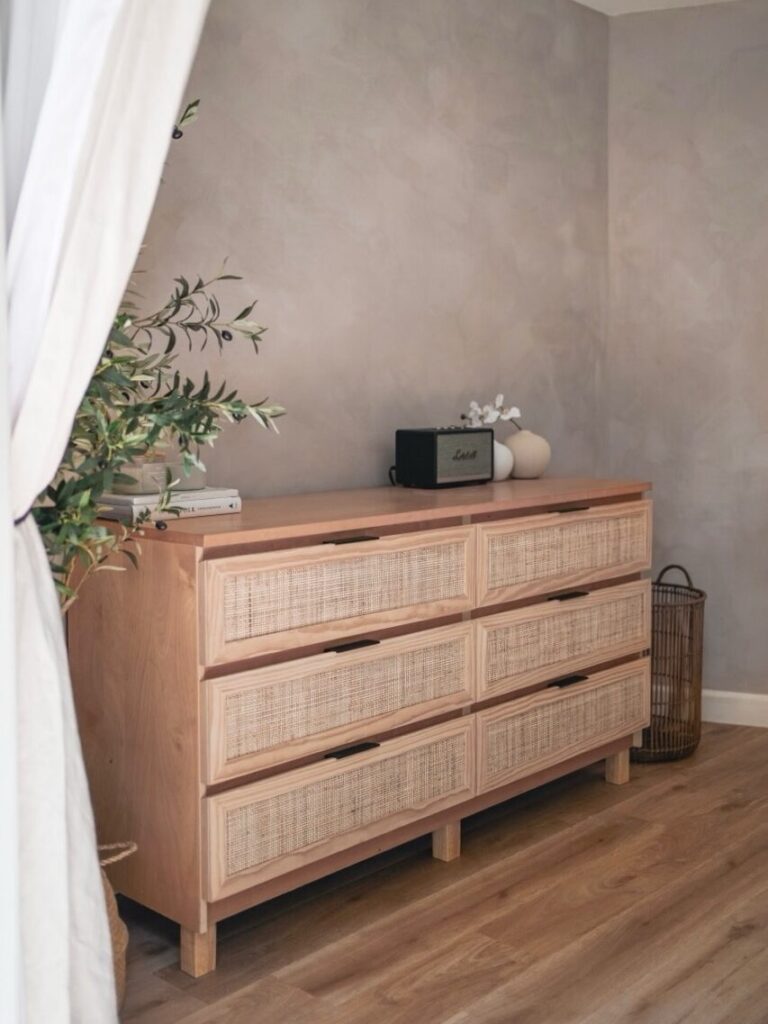
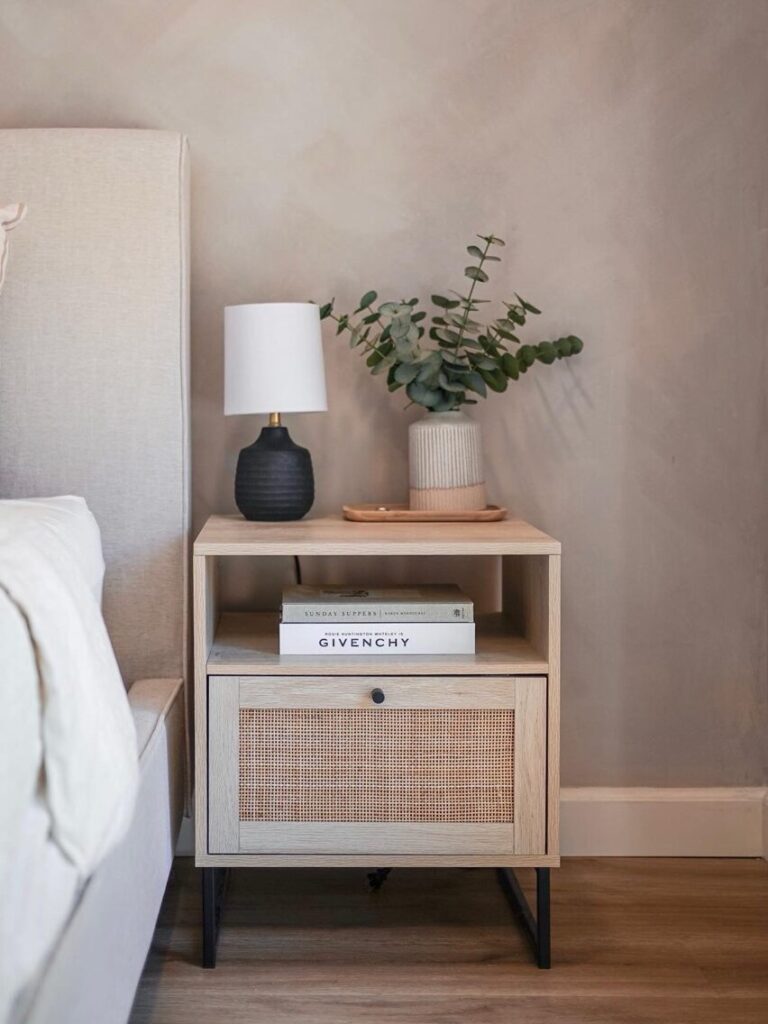
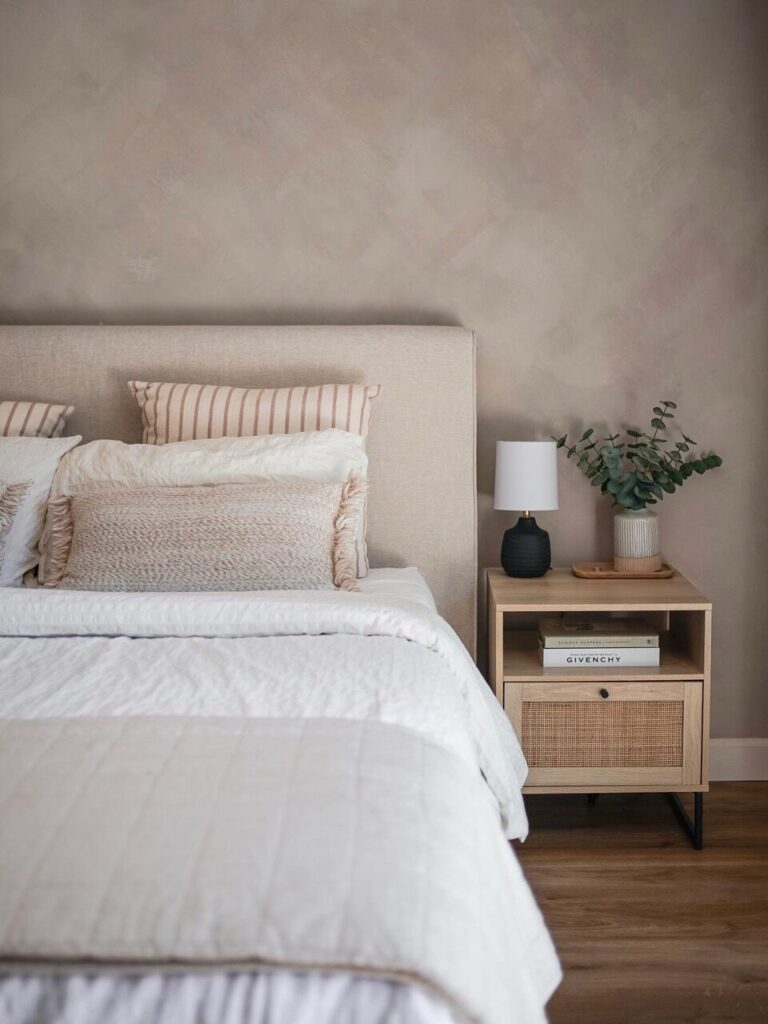
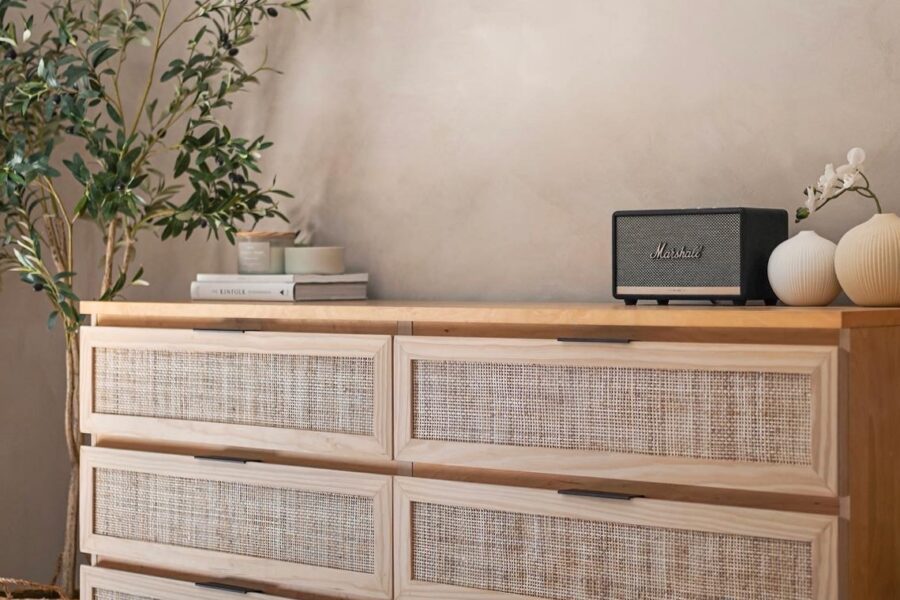
Lime-wash DIY process

The Results

And here are the results! In total, this project took about 3 days from start to finish.
It took some hard work, was a total workout, but the results are so worth it.

Lime-Washed Bedroom

Lime-washed Bedroom

Bedroom Lime-Wash

Bedroom Lime-Wash Results

Video Tutorial

See below for a video tutorial!

Related Articles

  • IKEA Malm Dresser – Adding a Rattan Design
  • IKEA Rast Dresser – Reconfiguring and Adding a Fluted Design
  • How to Build a Fluted Coffee Table

Category: Lime-Wash Tags: IKEA Malm Dresser Hack, Lime-Wash

← Previous Post
IKEA Hack – Complete Rast Dresser Makeover

You may also like

Black Fluted IKEA Malm Dresser Hack.
IKEA Hack – How to add Fluting to Malm Dresser
Rattan IKEA Malm Dresser Hack
IKEA Hack – How to add Rattan to Malm Dresser

Reader Interactions

Leave a Reply Cancel reply

You must be logged in to post a comment.

Primary Sidebar

Jenn Liu profile picture

Hey, I’m Jenn!

I learnt how to DIY with power tools within a few months, and I believe you can too.

I’m so happy you’re here! Feel free to email me if you have any questions, or reach out on Instagram.

  • Email
  • Instagram
  • Pinterest
  • TikTok
  • YouTube
  • How to Paint Tiles and What Tile Paint to Use
  • IKEA Hack – Complete Rast Dresser Makeover
  • How to Build a Fluted Coffee Table
  • IKEA Hack – How to add Fluting to Malm Dresser

Categories

  • Bathroom Makeover
  • Furniture DIY
  • IKEA Hack
  • Lime-Wash

jnn.liu.liu

Simple home office makeover with IKEA shelves🥰 - - Simple home office makeover with IKEA shelves🥰
-
-
#homeofficedecor #homeofficeideas #japandihome #wabisabihome #ikeahome #ikeastyle #ikeaideas #ikeadiy #ikealover #ikeahacks
I needed more space to put my home decor 😁Ikea Bil I needed more space to put my home decor 😁Ikea Billy shelves are great! Easy to put together and they look great when styled! ✨ 
-
-
#homedécor #ikeahome #wabisabihome #japandihome #ikeahack #ikeaideas #wabisabiinteriors #wabisabiinteriors #billybookcase
Movie night just got so much better with @xgimitec Movie night just got so much better with @xgimitech MoGo 3 Pro! 🥰✨ Love how compact, portable, aesthetic it is, and how it easily projects & auto focus from any angle using its Intelligent Screen Adaption technology. It also connects directly to our streaming channels! 🥰🥰

@xgimitech is offering Black Friday sales now - 16% off on MoGo3 Pro on Amazon and 53% off selected products on their site! Go check it out. Link in stories! 
-
-
#XGIMI #XGIMITECH #MOGO3PRO #ad #romo #cozyvibes #cozyroom #projectors #movienight🎬 #movienightathome #movienight
Yayy🥳🥳 Loving my DIY recessed shelf!! So much extr Yayy🥳🥳 Loving my DIY recessed shelf!! So much extra storage now!! 🥰💛 

Check out the previous video for DIY process! ✨
-
-
#homediy #bathroomdiy #bathroomrenovation #bathroomstyle #bathroomreno #homerenos #homerenovations #diyproject #diyideas
I finished the recessed shelf!!✨🥰 - - #bathroomdiy I finished the recessed shelf!!✨🥰
-
-
#bathroomdiy #homereno #bathroomideas #bathroomreno #diyprojects #diyproject #homediy #diybathroom #recessedshelf
Luckily…there is a Part 2! 😁😁 - - #diyproject #hom Luckily…there is a Part 2! 😁😁
-
-
#diyproject #homediy #homerenos #bathroomdiy #bathroomreno #bathroomrenovation #diyrenovation #diyremodel #bathroomstyle

Footer

Let’s be friends

  • Email
  • Instagram
  • Pinterest
  • TikTok
  • YouTube

More Info

  • About
  • Privacy Policy

Stay in Touch

Get the latest updates on upcoming projects, best DIY tips & ticks!

Copyright © 2025 · JnnLiuLiu

Lexi Theme by Code + Coconut