In this DIY tutorial, I will show you how to make a built-in bookshelf next to your fireplace (or anywhere in your home). This was one of my first few DIY projects I undertook myself, so it’s not as hard as you’d think!
Design Concept
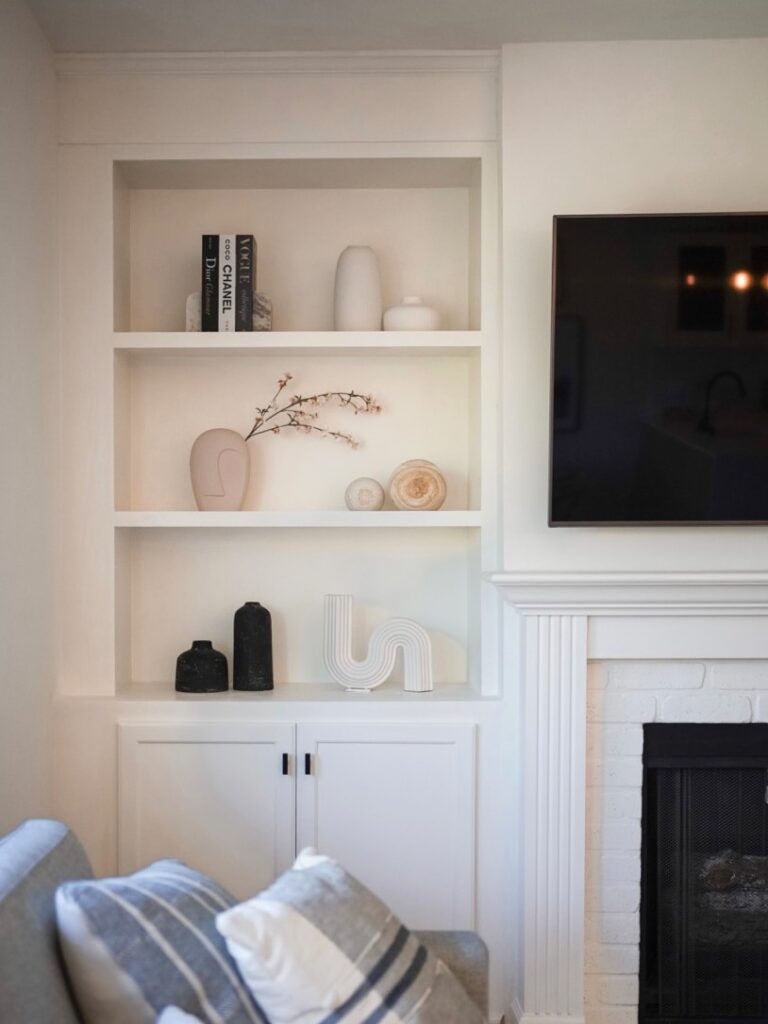
We have empty spaces on either side of our fireplace in our living room, so I decided to build a built-in bookshelf using store bought cabinet base and built my own bookshelf from plywood and gave it a ‘built-in’ look!
Supplies Needed
Below is a list of tools and supplies used.
Affiliate disclosure: when a purchase is made through the links below, I may earn a small commission from qualifying purchases on Amazon and other retailers.
- Drill & Driver: link.
- Circular Saw: link
- Sander: link.
- Nail Gun: link.
- Wood Filler Putty: link.
- Wood Glue: link.
- Multi-tool: link.
- Stud (Beam) Finder: link.
- Primer: link.
- Paint: Kelly Moore Swiss Coffee – Mixed by Home Depot
- 90 Degrees Clamps: link.
- Cabinet Handles: link.
- Utility Knife: link.
- Putty Knife: link.
- Shims: link.
- Caulk: link.
- Edge Banding: link (make sure to check the thickness and get ones matching the thickness of your plywood!)
- Kreg Pocket Hole Jig: link.
- Pocket Hole Wood Fillers: link.
- Primer: link.
- Laser Leveler: link.
Built-in Bookshelf Step-by-Step Guide
Built-in Base Cabinets
- Remove the baseboard in the area where you wish to build your bookshelf. To do this, first score the caulk-line with an utility knife and then use a putty knife to pry the baseboard away from the wall.
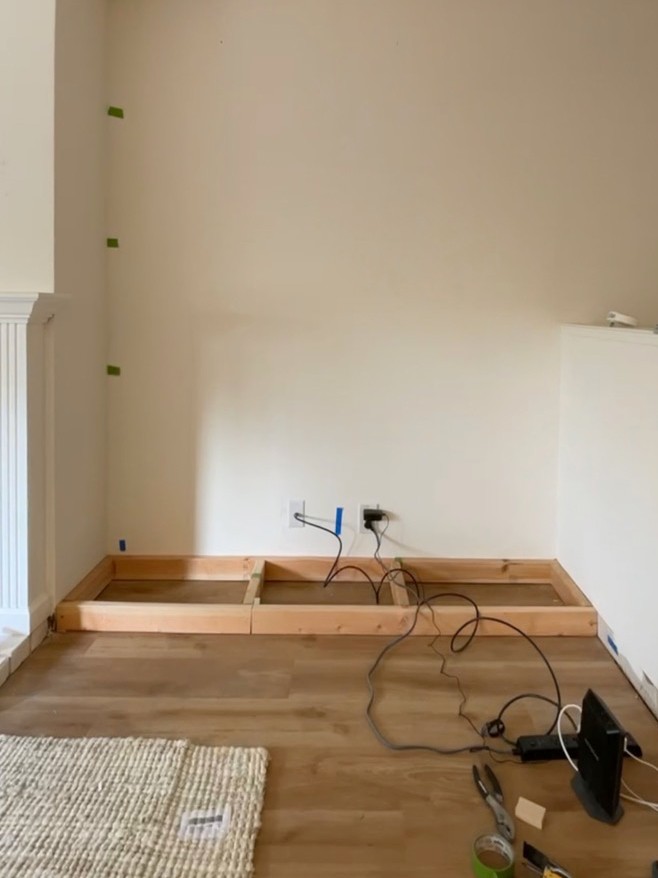
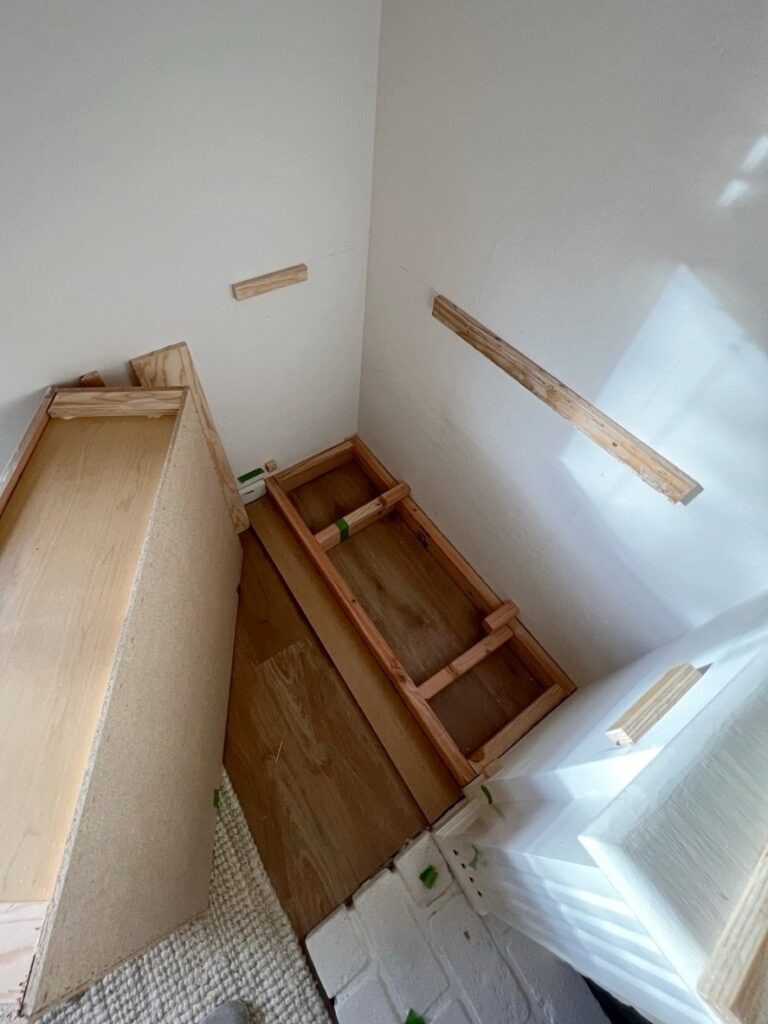
- Next, use 2-by-4’s to build a base frame, making sure it sits level with the floor. If it isn’t, use wood shims or scrap wood to prop up the lower sides as needed.
- Use a stud finder to find and mark out the studs in the walls. Next, drill the base frame to the studs in the wall.
- Put your store-bought base cabinets onto the base frame you’ve just built and determine where you want them to sit. There will likely be some empty spaces between the sides of the base cabinet and the wall. Measure the dimensions of the empty spaces and cut 3/4″ plywood to the same dimensions. You will use those to connect the cabinet to the wall and create the “built-in” look. These plywood pieces will be referred to as “plywood filler pieces” in the subsequent steps.
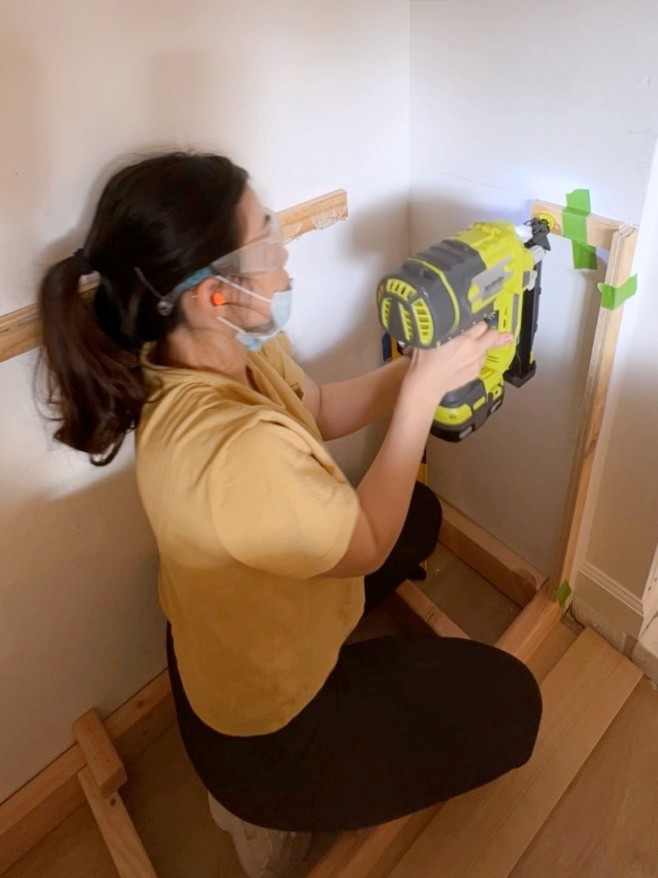
- In order for the plywood filler pieces to be attached, you need to build support structures to which the plywood can be nailed onto. To do this, take scrap wood and using nail gun, nail them to the wall directly behind where the plywood sits.
- Next, measure the dimension of your countertop and cut to size. If you’re using plywood, take edge banding tape and a hot iron and glue the edge band to the sides of the plywood to make it look smoother and prettier.
- Similar to step 4, using scrap wood, you will build the support structures to hold up your countertop.
- Dry fit everything and see all the scrap wood support structures, countertop and plywood filler pieces are cut right and fit together well.
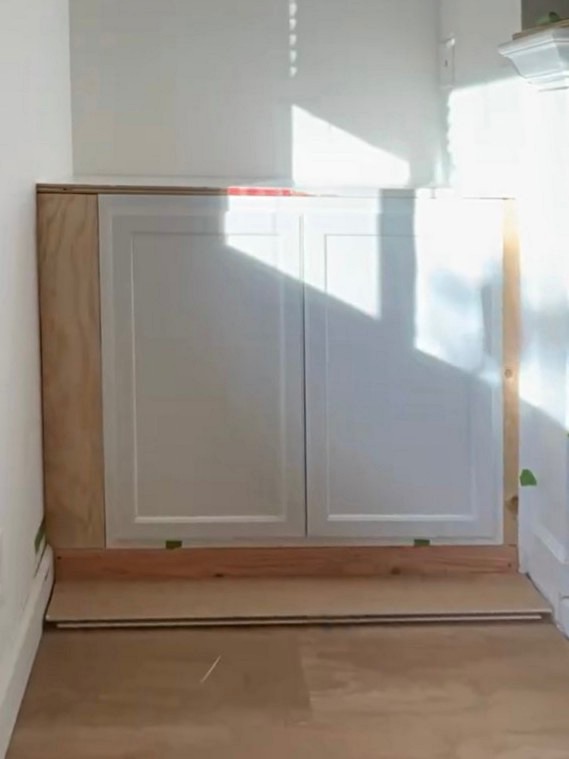
- To assemble everything together, first nail the cabinets down onto the base frame, then nail your baseboard pieces (cut to size) onto the front of your base frame. Next use a nail gun and nail the plywood filler pieces onto the scrap wood. By this stage, you should have a built-in base cabinet!
- To finish it off, use wood filler putty to fill in the gaps between the plywood filler pieces and your cabinet, and use caulk to fill in the gaps between the wall and the countertop and the wall and the plywood wood fillers.
- Lastly, attach cabinet handles.
Built-in Bookshelf
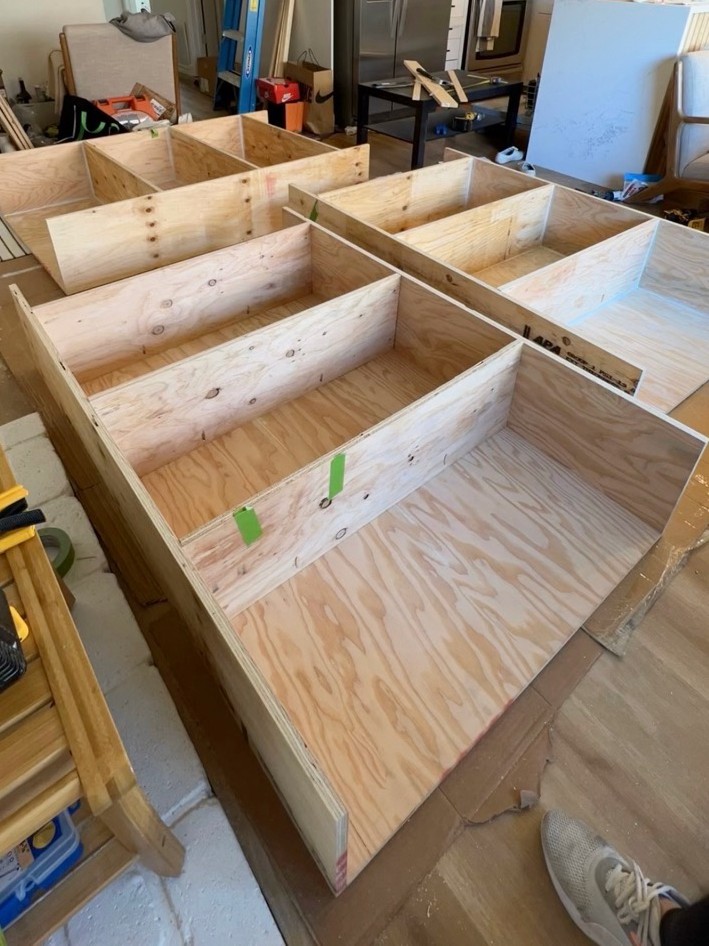
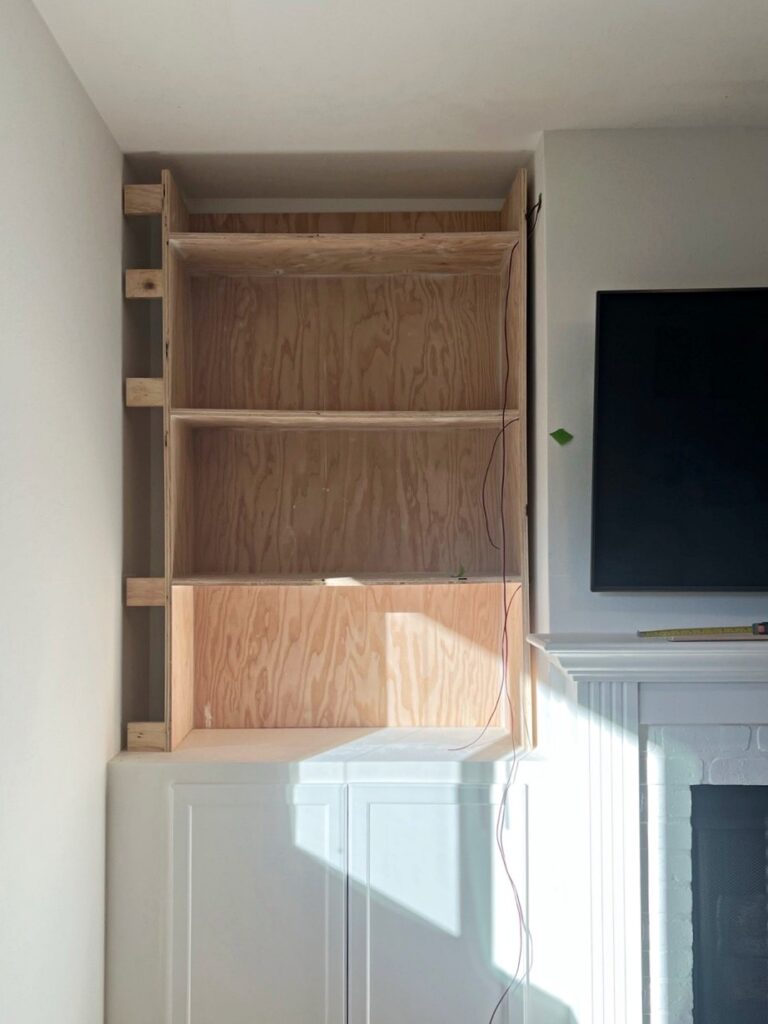
- Determine the dimension of your bookshelves and cut the wood pieces to size. Use wood that’s 3/4″ (or more) in thickness. Anything below might not withstand sufficient weight and the bookshelves might sag overtime.
- Prep the plywood by taking wood filler putty and fill in any cracks, holes or gaps in your plywood and sand everything smooth.
- Using a Kreg pocket hole jig, set the drills at 3/4″ thickness (same thickness as your plywood), and drill pocket holes along the edges of each plywood where the pieces will be joined at 90 degrees to another piece of plywood. In other words, all the edges except for the edges which are at the front of the bookshelf.
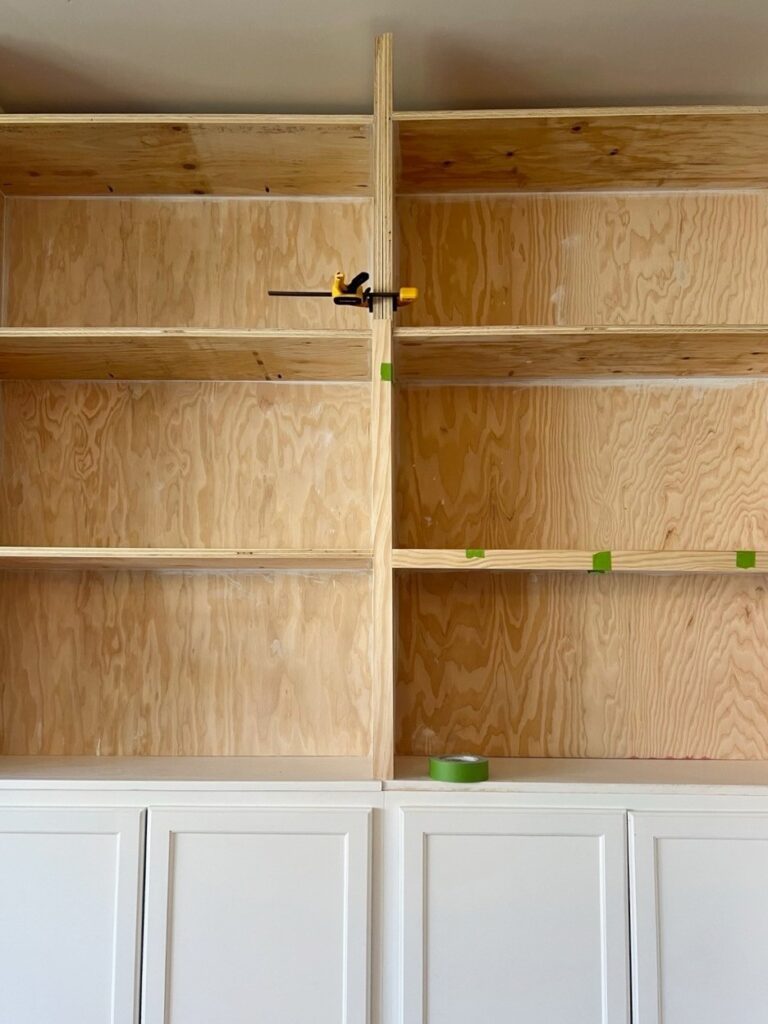
- Apply wood glue and screw plywood pieces together. Note, sometimes the plywood will have a little warpage and may not be perfectly straight, so use a 90 degree clamp tool to assist you in checking and helping you nail the plywood straight and perpendicular.
- Apply wood glue and fill in pocket holes with pocket hole wood fillers. Use a saw to cut off any excess wood fillers, use wood filler putty to fill in any gaps and sand everything smooth. By this stage, you will have completed the bookshelf!
- Mark on your base cabinets where the studs in the walls are and make sure you will be able to see these marks even when you place your bookshelf on top.
- Lift the bookshelf up onto the base cabinet and determine where you want them to sit. Then drill the bookshelf into the wall into the studs (using your markings from step 6 as reference).
- Next you will be adding a face frame to all the front facing pieces of your plywood. To do this, use poplar wood (1.5″ x 0.5″) and cut them to size, then use wood glue and nail the pieces to the plywood. Use a leveler or laser leveler to ensure all the pieces are nailed on straight.
- Similar to step 4 in the “base cabinet” section, measure the remaining empty gaps between the wall and your bookshelves, cut plywood filler pieces, build support structures and nails the plywood wood filler pieces to the support structures.
- For the gap between the top plywood bookself to the ceiling, measure and cut a thicker plywood, or solid wood and nail it to the bookshelf. As the thickness is thicker than the original wood, it will add a nice step-up detail to the top of your bookshelf.

- Buy crown molding, cut to size and nail it to the top of the bookshelf.
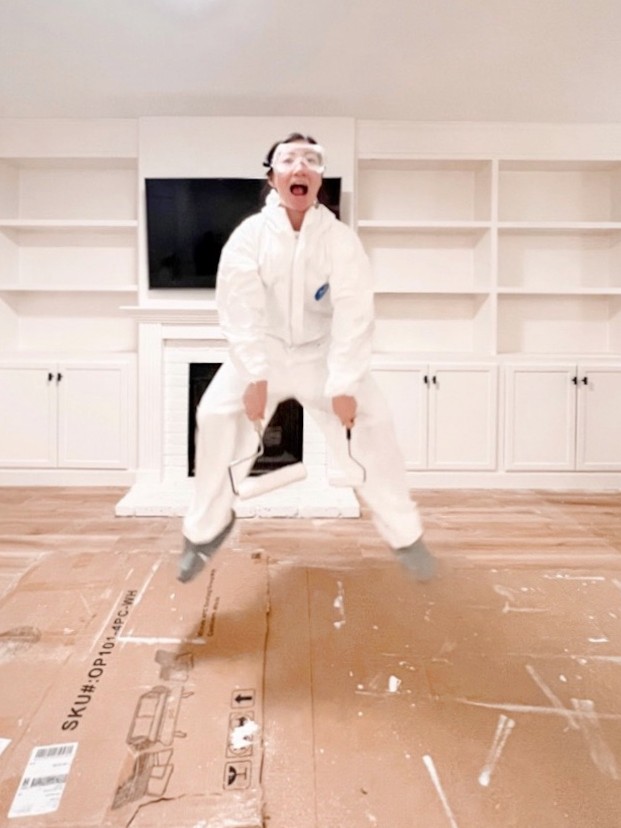
- Finish everything off by filling any gaps with wood filler putty or caulk, sand everything smooth, prime and paint your cabinets.
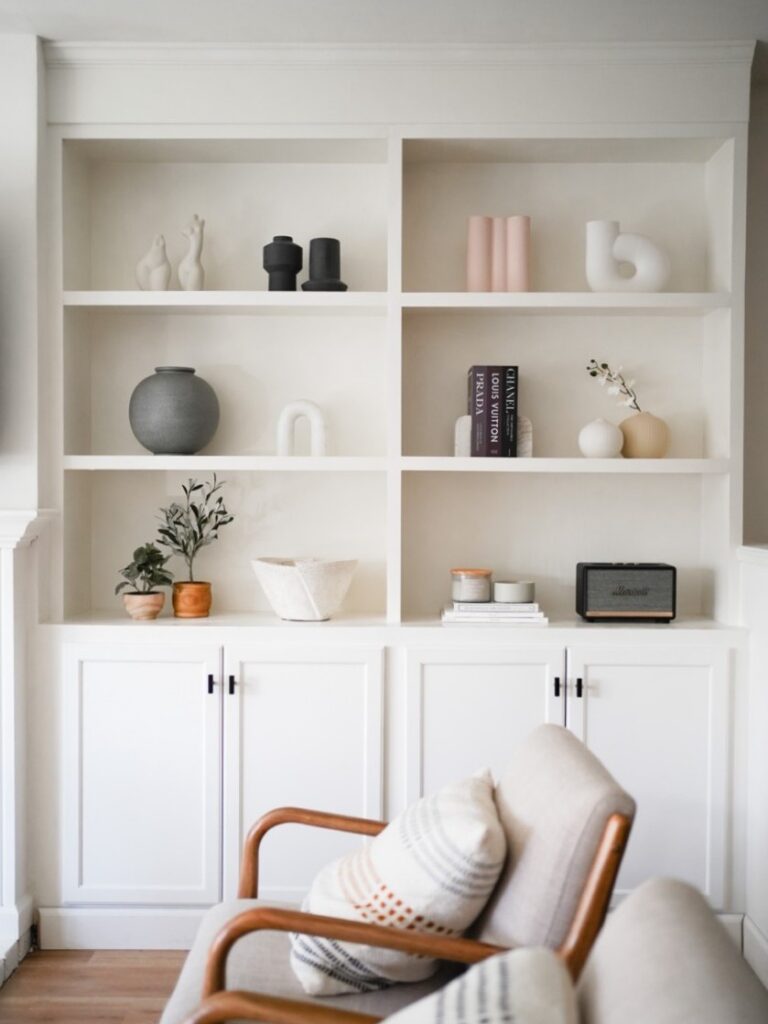
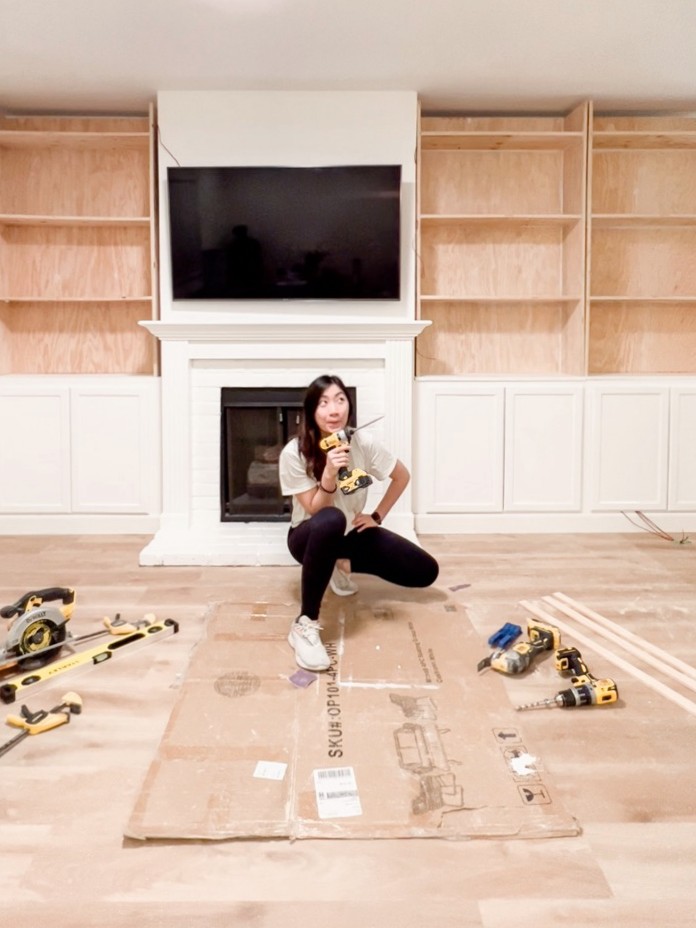
- Lastly, step by and admire your beautiful built-in bookshelf!
Here is the completed and styled bookshelf! I love it!
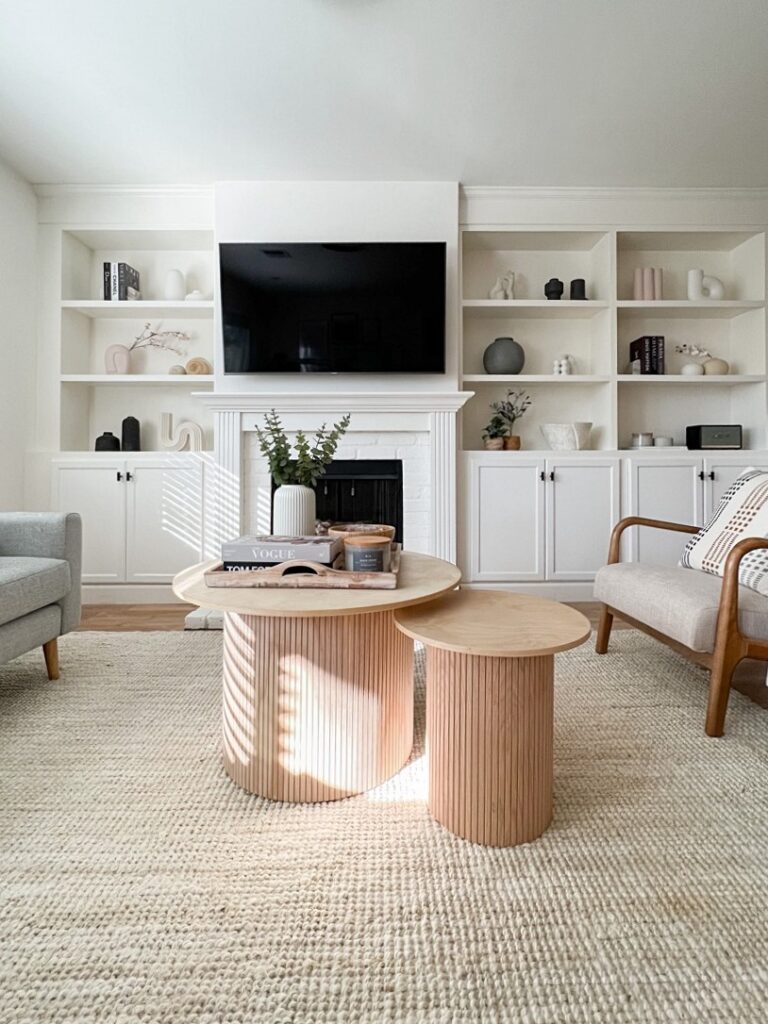
If you’re interested in making your own fluted coffee table, see my post on How to Make a Fluted Coffee Table.


Leave a Reply
You must be logged in to post a comment.